This blog documents the restoration, and conversion, of a 1965 Humber (Singer) Vogue to a fully electric vehicle. The Vogue will be powered by an 11kW(modified), 3 phase industrial AC motor, controlled by an industry standard Variable Speed Drive (VSD) or Inverter. To be able to produce the 400 volts phase to phase the VSD will need about 600 VDC of batteries. A big thanks to the contributors on the AEVA forum: http://forums.aeva.asn.au/forums/

Monday, February 6, 2012

Rear Seat Foam Padding

I have finished padding the upright (back) of the rear seat. We were under the impression that this job would be easy once the fabric parts were done - not so. There were lots of places where the strength of Vinyl made life easy for the padderers(???). With fabric we can't put too much stress on it so the foam padding has be be secured before the fabric goes on. We also discovered that there was additional 8mm padding sewn into the vinyl around the areas that were more padded. This created a "plush" effect of rounded padding.
You can see the effect in my previous post about the front seat.

Even had we known about the sewn-in padding, it would have been very difficult and maybe not even possible to do with the sewing machine in use. (We are using upholstery thread and the sewing machine is coping but there is not much reserve.)

The rear seat-back before stripping.
I then removed the vinyl and foam. I left the heshing in place that covered the wire springs but spent some time ensuring the springs would not poke anyone in the back. Also some derusting and rust prevention.


This is the back of the rear seat upright part (shown above).
Note the method of holding the vinyl in place in this 'before' picture. They had some kind of wire tool that stapled through the vinyl or foam.


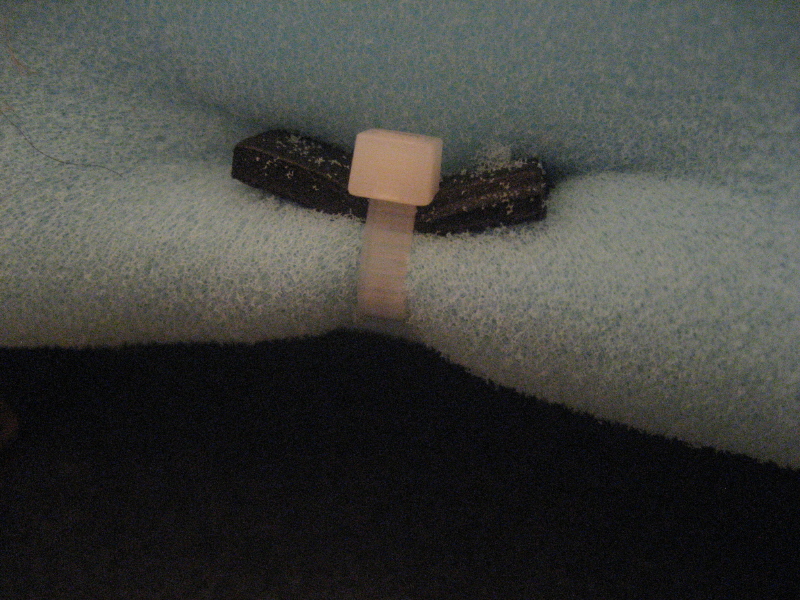
First we covered the whole back of the seat with 10mm "firm" foam (blue). Yes those are the same clips that held the headlining during glueing.
 In place of the wire staple type gizmo used originally, I used cable ties with cut pieces of shoe insole (new) to support the foam.
We tried square cut 20mm foam for the extra padding but it was obvious when we stretched the fabric over it - too flat!
So we had to come up with "plush" cushioning. We tried "shaping" 20mm foam with the electric kitchen knife and ending up with a raggity edge. The idea was that we would then place 6mm foam over that to smooth it out.
The result - no good! The 6mm foam over the top of the 20mm helped (not shown) but it was getting too bulky.
It got very complicated until someone came up with this idea.
We glued 10mm foam onto the base foam, cut in such a way as to leave 40mm either side where we want padding. Then we place 10mm foam over that in a bridge-like fashion. The second lot of foam is only glued for about 10-15mm along both edges. (The demo bridge piece isn't supposed to be there.)

The base of the rear seat has 35mm thick foam which originally poked out past the frame by about 60mm. The vinyl wrapped down around the foam and held it in position.

We can't do that with the fabric, so the 35mm foam now only protudes about 5mm past the edge of the frame and we have glued 20mm foam to the edge of the 35mm foam.
I will use the same approach that we used on the back of the seat for the 'plush' padding on the seat base.

The base of the rear seat frame before painting.

Foam for front seats waiting patiently in our bedroom.
And the rag stealer finds another new bed. Apparently she gets up there when she thinks no-one is looking.

2 comments:

Vincent T said...

Nice work! The "staples" you were referring to are called "hog rings" in the trade. There are special pliers you can get to put them in. http://www.diyupholsterysupplies.com.au/page9.htm

Johny said...

Thanks Vincent. I came across that term in stuff I have read but did not make the connection.